 |
| This post contains affiliate links |
So here we are, another week, another kitchen post, but there's just one more after this and then I'm done, promise! I'm ready to be done with this series, and in future I think I'll post tutorials as they happen and then recap with a full reveal whenever I get it together enough to do that. I feel like I have to finish all these kitchen posts before I move on and it's kinda stifling my creativity ya know? *gag!
So yeah, I'm ready to move on, and I know that 'cos I've started glaring at the playroom like it's my arch-nemesis every time I pass it. All of a sudden a space I didn't even notice before is keeping me awake at night, so it's going to happen soon, and I think it's gonna be a good one! I know exactly what I want to do in there and I think it'll come together really quickly once I can find a day that I can offload the monsters on an unsuspecting grandparent for a few hours.
I'm coming for you playroom, brace yourself.
Aaaaaaaaanyway, slightly unhealthy focus on the playroom aside, today I'm going to talk about painting the tile backsplash in the kitchen.
Honestly this was one of the most surprising (and satisfying!) projects I did in here. It's worked out really well, in that it looks great and so far (two months later) is holding up extremely well, even with steam etc being blasted at it on a regular basis.
In case you're new, or have the attention span of a goldfish, here's what we were working with......
Nothing terrible, but definitely not my style. They had to go, and even though we could have afforded to re-tile the backsplash, we couldn't afford to do the whole kitchen, and so we decided to just do everything in here as cheaply as possible, with the intention of saving up to do the full re-vamp we would really like at some point in the not too distant future. This meant I got to try out all the seemingly crazy but effective things I'd seen on pinterest, like painting tile. Bonus!
I'm not the only one who gets excited by the prospect of something that you really can't ruin right? RIGHT?!
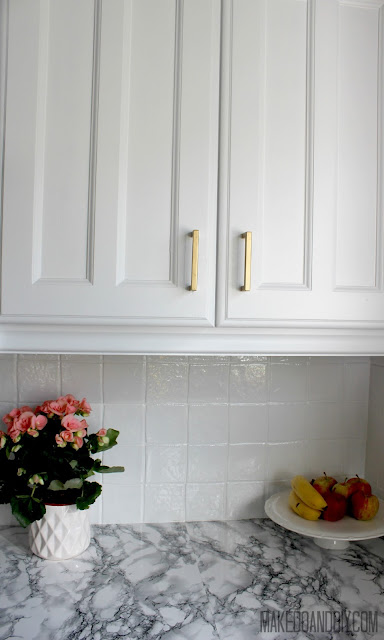
This is what we ended up with....
Before: the nineties want their tiles back.
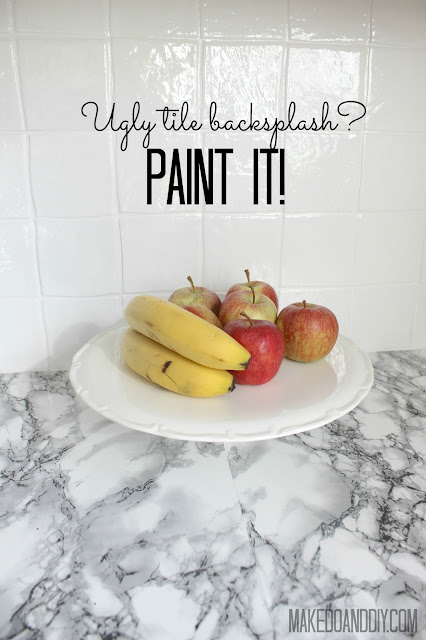
After: My eyeballs are no longer assaulted every time I walk in here.
So, the method went as follows:
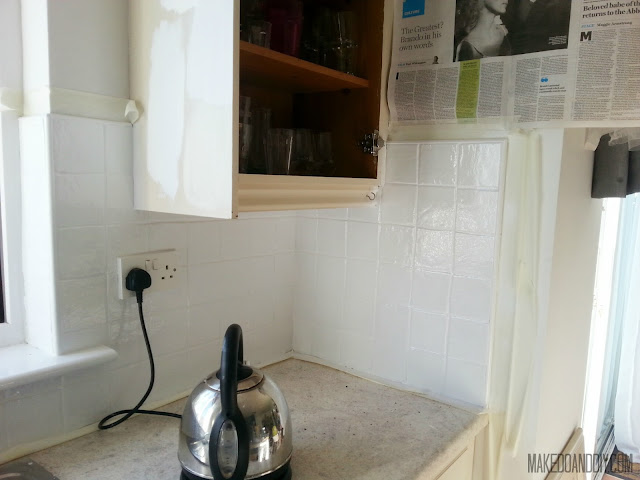
1) Clean everything to within an inch of it's life, and then tape off anywhere you're worried about ruining due to overspray, accidental splashes, or in my case, just plain laziness.
 |
| If this bad photography offends you, look away now, 'cos it's about to get worse. Often photography has to take a back seat to getting sh*t done! |
2) Cut in with primer (I use Zinssner) along the grout lines and then fill in by going back over everything with a roller. Make sure to give long enough to dry properly.

3) Try out a spray paint that claims it will do the job and quickly realise that once again, you should have gone with your gut and used the regular oil based paint. Gah! Seriously, from now on I'm just doing what i think will work first, regardless of whether it's what you're supposed to do or how much the people in B&Q look at me like I'm crazy when they ask me what I'm using the paint for!
 |
| Lies!!!!! |
After one coat of this stuff I realised that I would need at least five cans to do the job properly, and they were €13 each.....
Plus it was NOT shiny, at all......
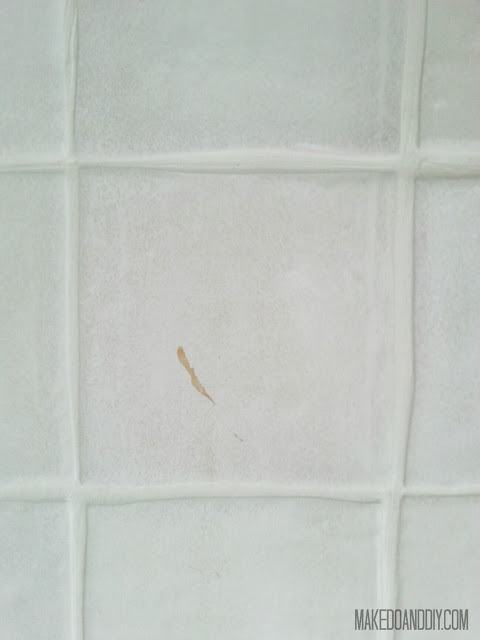
And when I tentatively scratched it with my non-existant, sad little stump of a fingernail, this happened. (Serioulsy, I can't even scratch myself with these things, paint should really safe from them!)
So that's a fail all round then. *sigh*
Cut to me in a fit of rage at the thought of my carefully planned timeline for updating this kitchen being thrown off by a stupid can of spray paint, slapping on some white gloss that I found out in the shed, in 30 minute window where miraculously both children forgot I existed.
 |
| When in doubt...grab the oil based gloss. |
Worked like a charm. I love it when a plan comes together! Erm....anyway, it was shiny, and durable, and only needed one coat. The timetable was back on track! Woohoo!
I gave it twenty four hours to dry, and tried to avoid scrubbing it for a couple of days to let it sure (oil based paint takes a while to really harden properly all the way through, the longer you leave it, the stronger it will be)
It's glossy, it's bright, and so far I have had zero problems with it, and I've been treating it exactly like I did the old tile. It's been cleaned, had food, water, and steam attacking it, and I have been genuinely surprised that it hasn't lifted or peeled anywhere. In fact, I'm so impressed with it that I'm thinking of painting the floor in the utility room with the same type of paint, rather than the specialised floor paint I used in here.

So there you have it! It's hugely effective as changes go, and once I figured out what paint to use it was so quick and easy to do. I would definitely, definitely do this again. I love it.
What do you think? Is this something you would try?
I just have the contact paper counter tops left to post about and then it's on to something new, but you're going to want to hear about those counters, they're definitely the biggest diy surprise I've had so far!
If you liked this I'll bet you'd like:


