So yeah, I made a thing, out of straws, that I believe is quite pleasant and decorative!
It could be a sculptural, ornamental piece, you could turn it into a lamp shade pretty easily, you could use the same method to make wreaths etc for your wall, but I've opted to use mine as a....plant cage? Is that a thing? I feel like that's a thing.
Whatever, I've got a tiny plant trapped in it, it's a frickin' plant cage as far as I'm concerned!
To make this you're going to need straws (I used paper, they're sturdier than plastic and easier to spray paint. They cost €1.50 for the pack in a Euro store), thin wire (I got mine in Tiger for €3), something to cut the straws with and spray paint of your choice - or not, maybe you like yellow, who am I to judge?!
To copy the shape I made you will need six each of four different lengths of straw. Mine were 19 cm, 10 cm, 7cm and 5cm. I don't think it makes much difference what the lengths are other than they will change the overall size of the shape you end up with, but each batch of straws does need to be cut all the same length otherwise your shape will end up wonky.
Now, this is going to be difficult to explain, but just trust me that if I could figure it out as I was going you will too! Here we go....
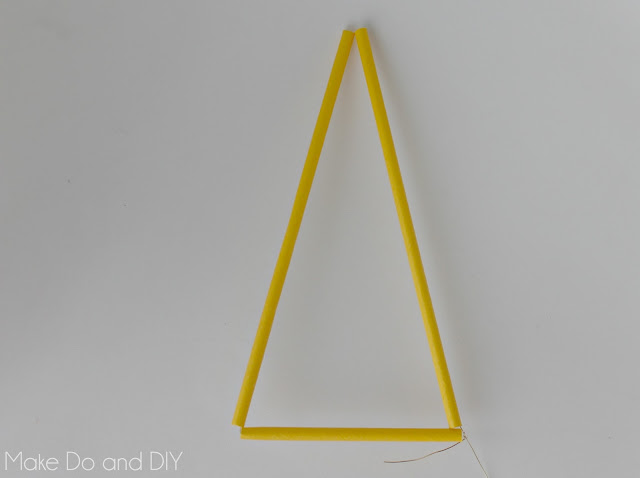
First, you are going to use the longest and second longest lengths of straw to form the top part of your shape. Run a length of wire through two of the longest pieces of straw and then through one of the shorter and form into a triangle, twisting the wire at the corner to hold it together.
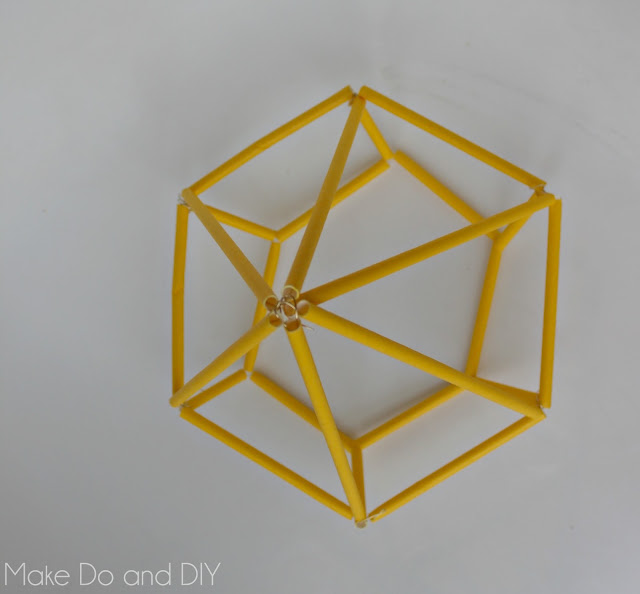
Add another short piece and then a long one, twisting together at the top again to add another triangle. Keep doing this until you have used all of the longest and second longest straws and can form the shape above by twisting the corners together. You may have to run the wire back through straws you've already used or twist them together several times at the same juncture in order to end up with the wire where you need it to be to start threading your next piece, whatever you need to do!
Trim off the excess wire.
Now you're going to take the two shorter lengths of straw, use the same method again, but starting off by twisting the start of a new piece of wire around one of the corners of your upper triangles, then threading a longer, then shorter, then longer piece of straw onto it and finishing off by twisting around the next corner on the finished top piece. You'll end up with a truncated triangle attached to the bottom of one of your upper triangles, and it will curve inwards slightly.
I know, it sounds ridiculously complicated, and I can't explain it any better, but trust me when I say that if you just start making this you will see how to do it as you go and the whole thing will just naturally form into this shape if you use the right lengths of straw.
Continue on exactly as you did on the top, adding a short piece, then a long, to form these shapes the whole way around.
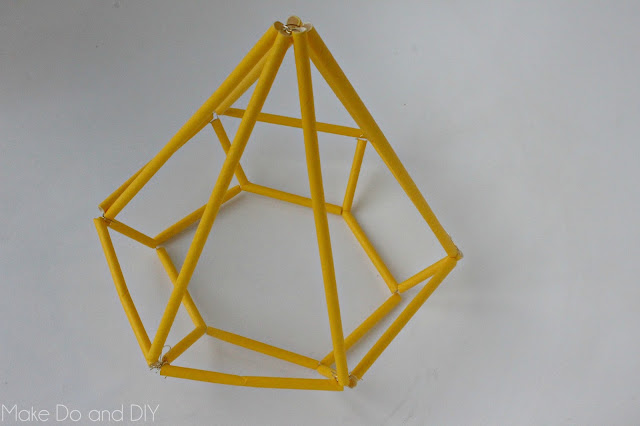
When you get to the end of your straws and close up the circle the shape will naturally be curved inwards on the bottom and you will have your diamond shape.
And this is what you'll end up with. At this point you can manipulate it a bit to form it into as perfect (or imperfect!) a diamond as you like. The wire makes it very easy to fix any crooked bits (as you can see below I had many!).
Then give it a quick coat of your favorite spray paint and you're good to go!
I stuck a little plant in mine but you could definitely use it as a lamp shade (or base if you used it on one of those skinny metal lamps). I've also seen this method used to make gorgeous wreaths and other wall decorations.
So there you have it, a quick little diy to get me back into the swing of things and I love it! It's really dressing up my sideboard at the moment. What do you think? Do you have any wayward plants that could do with a little confinement? :)
Next up, the bathroom makeover is done and the reveal will be up on Thursday!


